7 Pro Tips To Create Godaddy Webmail Now

Introduction to Godaddy Webmail

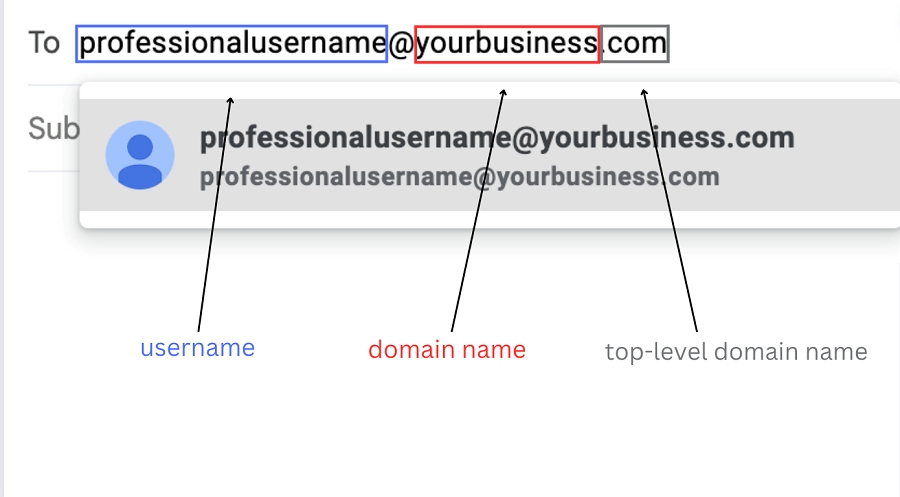
Creating a Godaddy Webmail account is an essential step for individuals and businesses that have registered a domain with Godaddy. Godaddy Webmail provides a professional email address that matches your domain name, enhancing your online credibility and communication. In this article, we will guide you through the process of creating a Godaddy Webmail account with 7 pro tips.
Tip 1: Choose Your Domain

Before creating your Godaddy Webmail account, ensure you have a domain registered with Godaddy. If you haven’t registered a domain yet, you can do so by visiting the Godaddy website and following their domain registration process. Once you have your domain, you can proceed to create your email account.
Tip 2: Select Your Email Plan

Godaddy offers various email plans to suit different needs and budgets. You can choose from Basic, Deluxe, Ultimate, and Pro plans, each offering different storage capacities and features. Select the plan that best fits your requirements and proceed to the next step.
Tip 3: Create Your Email Account

To create your Godaddy Webmail account, follow these steps: * Log in to your Godaddy account and go to the Products section. * Click on Email & Office and select Manage next to your email account. * Click on Create and enter your desired email address and password. * Fill in the required information, such as your name and recovery email address. * Click Create Account to complete the process.
Tip 4: Set Up Your Email Client

Once your Godaddy Webmail account is created, you can set up your email client to access your emails. You can use Godaddy’s webmail interface or set up your account on a third-party email client like Microsoft Outlook or Apple Mail. To set up your email client, you will need to configure the incoming and outgoing server settings, which can be found in your Godaddy account.
Tip 5: Configure Your Email Settings

To ensure you receive and send emails correctly, configure your email settings as follows: * Incoming server: imap.secureserver.net (for IMAP) or pop.secureserver.net (for POP) * Outgoing server: smtpout.secureserver.net * Port numbers: 993 (for IMAP) or 995 (for POP) for incoming servers, and 465 (for SSL) or 587 (for TLS) for outgoing servers * Encryption: SSL or TLS
Tip 6: Add Your Email Account to Your Device

Add your Godaddy Webmail account to your device by following these steps: * Go to your device’s email settings and select Add Account. * Enter your email address and password. * Select IMAP or POP as your account type. * Enter the incoming and outgoing server settings. * Save your account settings.
Tip 7: Test Your Email Account

To ensure your Godaddy Webmail account is working correctly, test it by sending and receiving emails. You can send an email to yourself or to a friend to verify that your account is functioning properly.
📝 Note: Make sure to keep your email account and password secure to prevent unauthorized access.
Here is a summary of the email plans offered by Godaddy:
| Plan | Storage | Features |
|---|---|---|
| Basic | 5 GB | 1 email address, webmail access |
| Deluxe | 10 GB | 5 email addresses, webmail access, calendar, contacts |
| Ultimate | 20 GB | 10 email addresses, webmail access, calendar, contacts, task management |
| Pro | 50 GB | 20 email addresses, webmail access, calendar, contacts, task management, advanced security features |

In summary, creating a Godaddy Webmail account is a straightforward process that requires choosing your domain, selecting your email plan, creating your email account, setting up your email client, configuring your email settings, adding your email account to your device, and testing your email account. By following these 7 pro tips, you can create a professional email address that enhances your online presence and communication.
What is Godaddy Webmail?

+
Godaddy Webmail is a professional email service provided by Godaddy that allows you to create a custom email address matching your domain name.
How do I create a Godaddy Webmail account?

+
To create a Godaddy Webmail account, log in to your Godaddy account, go to the Products section, click on Email & Office, and select Manage next to your email account. Then, click on Create and follow the prompts to set up your account.
What are the benefits of using Godaddy Webmail?

+
The benefits of using Godaddy Webmail include having a professional email address that matches your domain name, enhanced online credibility, and access to a range of email features and tools.


